A QUICK GUIDE TO VISUAL STUDIO CODE SETUP FOR SALESFORCE COMMERCE CLOUD (SFCC)

If you are working with Salesforce Commerce Cloud, then you know that before you start, you need to choose the right editor. There is no right or wrong when it comes to editors. You can choose editors based on your own preferences. There are, however, some characteristics of the editors you should take into account before you make your decision. Also, new tools for development are being launched almost every day, so you also need to see how these tools can help you. For the development in SFCC, I prefer Visual Studio Code or Eclipse. In this tutorial, I will show you how to setup VSC for Salesforce Commerce Cloud development.

Why Visual Studio Code for SFCC development?

VSC is one of the most popular editors today. It is an open-source editor which makes it quite attractive to developers, built in git client and it’s lightweight. We all like this and need this. However, from my experience, the main advantage of VSC over Eclipse (and other editors) is speed. VSC has faster cartridge uploading and a better templating engine, which is more attractive to most developers. VSC can be easily extended with extensions and it provides some cool and effective features, such as IntelliSense that analyzes code and the semantics of what you are inputting. To sum up, it’s built to save you time and help you be more effective. Now, let’s jump to the installation process.

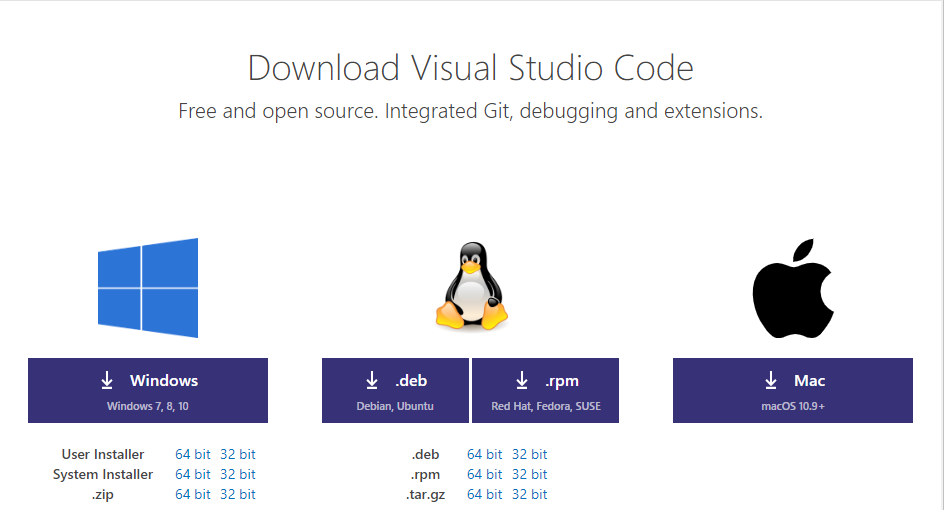
The first step is to download the Visual Studio Code. Go to the official VSC website, and download the latest version for your system. VSC is supported for Windows, Mac, and Linux.

Download studio


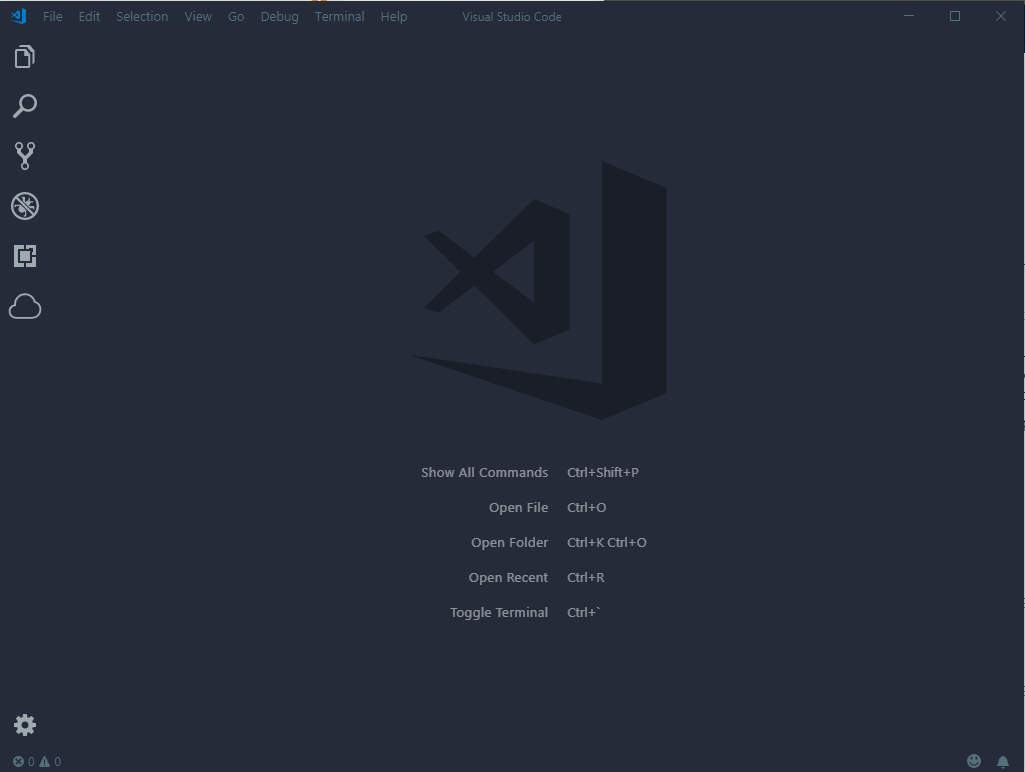
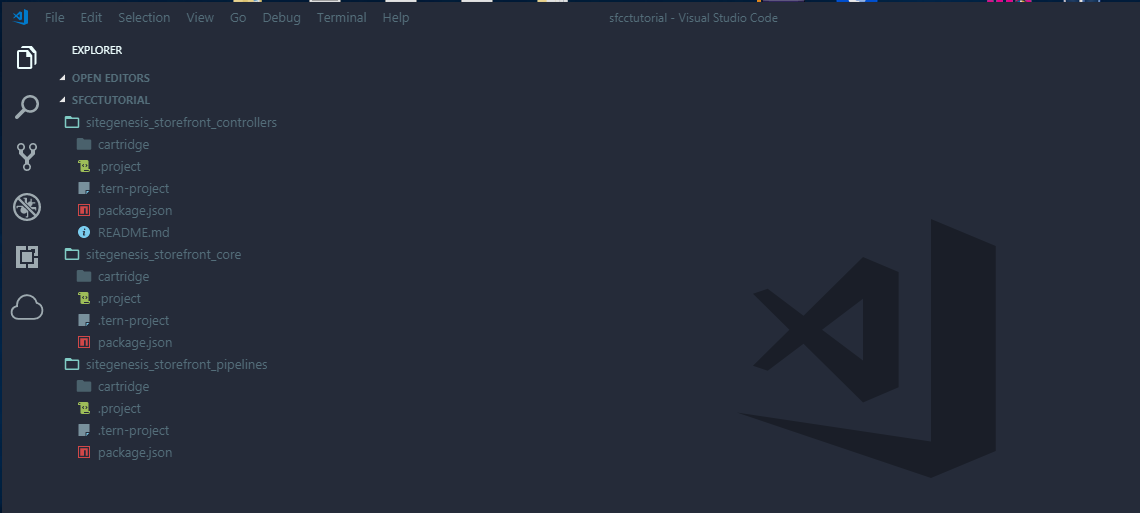
After downloading the installer, simply follow the instructions to install VSC on your machine. Once your installation is done, you will see the following screen.

vsc download


Install & configure Prophet Debugger

There are two ways to install Prophet Debugger. I will show you both of them, and you can choose the one you prefer more.

1. Navigate to your extensions section in VS Code

Click on the icon marked on the screen below:

Navigate sfcc


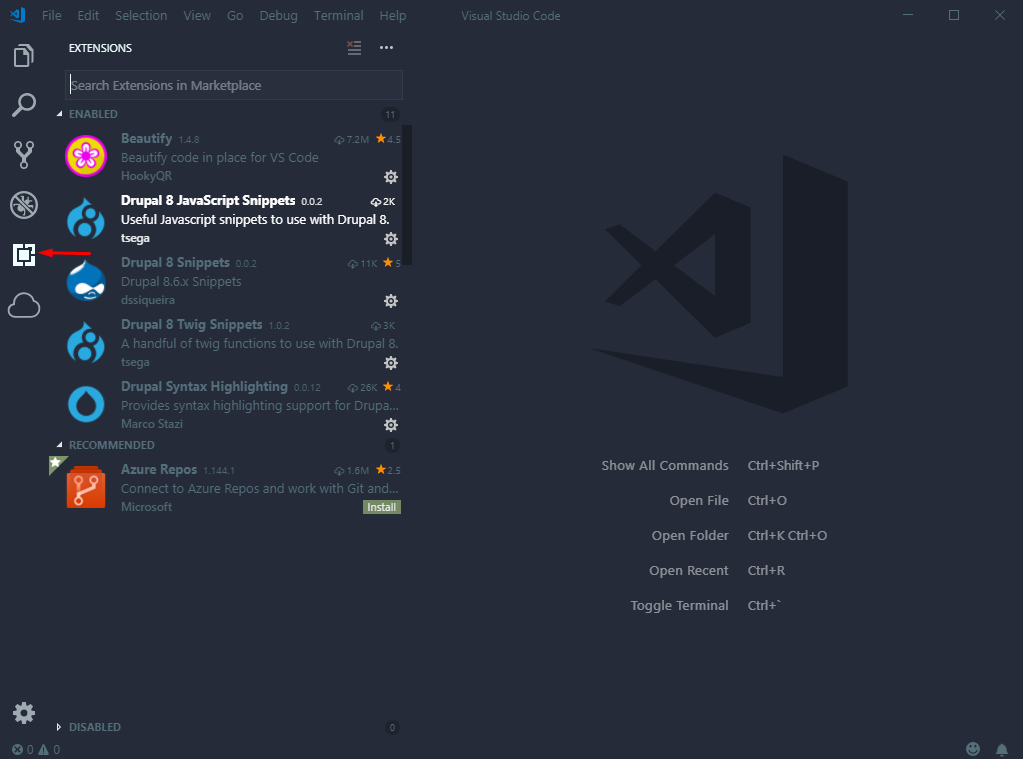
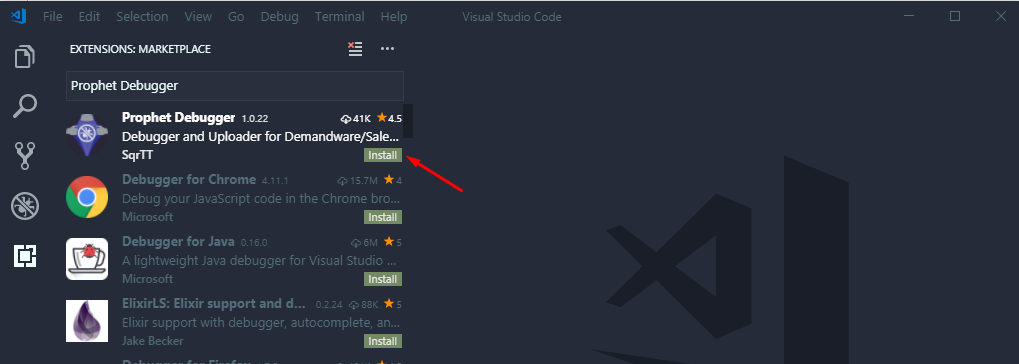
In the search section, type Prophet Debugger, and press install.

Debugger


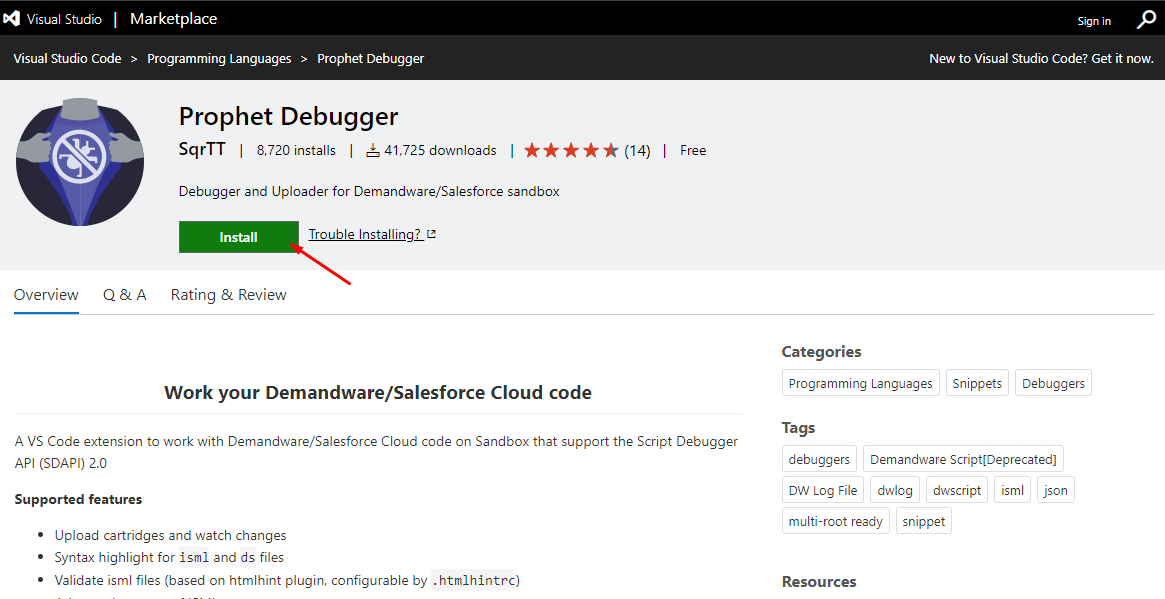
2. Install Prophet Debugger extension from the Marketplace


The second way to install Prophet Debugger is to install it directly from the Marketplace. Go to the website and click the install button.

Debugger market


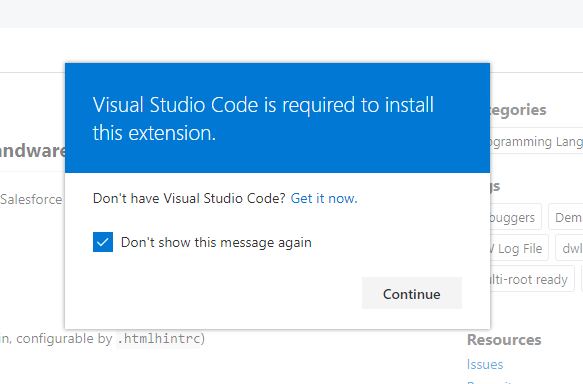
By pressing the button, you will be prompted with a modal which will try to launch Visual Studio Code, and then press continue.

Install debugger

Adding SFCC in the mix

If you are starting a new project, you can find storefront core cartridges in the GitHub repository. There are 3 different architectures in SFCC:

  • Pipelines
  • Controllers
  • SFRA

A few things to know about architectures

The oldest architecture is based on pipelines, and some projects are still using them.

However, more and more projects are built with Controllers or SFRA. We highly recommend SFRA as it has more advantages when compared to the old architectures.

To find Controllers and Pipelines, follow this link and to find SFRA, go to GitHub.

Before accessing repositories, you need to have the SFCC account, the xChange account and a connected GitHub account to your SFCC account. Once you got your repository setup with cartridges, you can proceed with setting up a digital server connection.

x change

To connect your Visual studio code to SFCC sandbox, you need to create a few json configurations. First, you need to create a .vscode folder in your root directory. So, in .vscode directory, create two files in the following order:

  • launch.json
  • settings.json
  • SFRA
// launch.json

{

    "version": "0.1.0",

    "configurations": [

        {

            "type": "prophet",

            "request": "launch",

            "name": "SFCC"

        }

    ]

}
// settings.json

{

   "terminal.integrated.env.osx": {

       "SFDX_SET_CLIENT_IDS": "sfdx-vscode"

   },

   "terminal.integrated.env.linux": {

       "SFDX_SET_CLIENT_IDS": "sfdx-vscode"

   },

   "terminal.integrated.env.windows": {

       "SFDX_SET_CLIENT_IDS": "sfdx-vscode"

   }

}
// settings.json

{

   "terminal.integrated.env.osx": {

       "SFDX_SET_CLIENT_IDS": "sfdx-vscode"

   },

   "terminal.integrated.env.linux": {

       "SFDX_SET_CLIENT_IDS": "sfdx-vscode"

   },

   "terminal.integrated.env.windows": {

       "SFDX_SET_CLIENT_IDS": "sfdx-vscode"

   }

}

In this json, you are setting your credentials for your sandbox instance.

In cartridge array, you can define your cartridges related to your project. This is a basic SFCC setup, so no additional cartridge is added.

If you want to automatically upload all cartridges within your project, you can simply omit cartridges attribute from dw.json configuration. By placing dw.json in the root folder of your project, prophet will automatically look through all folders and find all cartridges for you.

Code-version is a version created on your sandbox and the name can differ, so once you get your sandbox, check which version you need to use in Administration > Site Development > Code Deployment.

Note: do NOT share your dw.json file, since you will share your personal details with the third party!

To activate your prophet, connect to your sandbox and start uploading your cartridges, open up the search bar and type Prophet: Enable Upload.

A hint: To open the search bar on Windows - press ctrl + shift + p, on Mac - command + shift + p.

share file


Once you enable the cartridge upload, you will see the similar output in your console:

console


Wrapping up

If you’ve followed the steps, you are now all set up for SFCC development.

The last thing you need to do is to check if your instance is up and running smoothly.

wrapping up


If you want to compare VCS and Eclipse, check out our blog post about setting up Eclipse and the advantages of the editor. Did you like the article? Share it with friends who might need some help with VSC setup.

Happy coding!